

Hello and welcome back to our tip of the week series! This week I’m going to introduce you to Word Text Boxes.
Similarly to Word Shapes, text boxes are extremely useful for formatting documents for the following reasons:
- They draw attention to text
- They allow you to move the text around
- They allow you to format the text in new ways
By the end of this post, you’ll be able to quickly create and insert text boxes into your document, and then format them. Let’s get going!
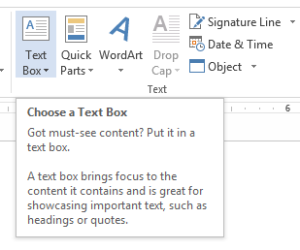
First, we need to locate where to insert text boxes. Click on “Insert” and you’ll be able to find the button pretty easily. Here’s what it looks like in Word 2013 when you hover over the icon with your mouse:
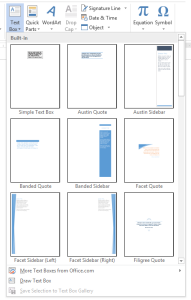
 When you click on “Text Box” you’ll immediately notice that there are quite a few built-in text box templates (and you can even find more online or build your own). Figure out what will work best for this particular project and click on it.
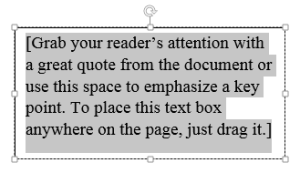
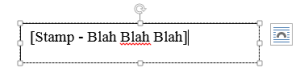
 I chose the standard “Simple Text Box.” While it really is simple, I’ve found that it satisfies most of the daily uses that I have for text boxes. Here’s what the template looks like once it’s inserted:
 Then, just add the text. Here I’ll be recreating a stamp that reads “Blah Blah Blah.”
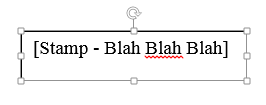
 Now I’ll center the text in the text box and resize the text box to make it look a little bit better (Check out our first tip of the week for text alignment and other shortcut keys!). To resize the text box, click on one of the little squares on the box’s border and drag it to fit your specifications.
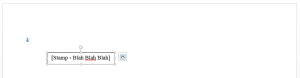
 Now you can select a wrapping option under “Layout.” Here I’ll be using “Behind Text,” which will allow me to move the text box anywhere on the page. You can try out the different text wrapping options to see what will work best for your translation or other project.
 See? I can just drag the text box over to the left now:
You can also edit the color of the border or the fill of the text boxes in the same way as you can with shapes, please reference this blog post for information on how to edit this. Hint: Click on the text box and then go to the “Format” section of the top menu bar.
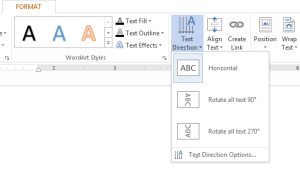
Now, what if you’re translating a birth certificate that has a vertical or diagonal stamp, or even if the stamp is horizontal but upside down on the original? Well, Word has you covered. Simply go to “Format” and then click on “Text Direction” to change the direction of the text.
 Here is the text box rotated 270°.
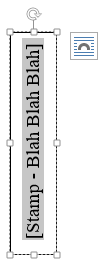
As with most other features in Word, there is more than one way to rotate a text box. Do you see the little arrow above the text box in the above screenshot? If you click on that, you can actually drag the text box around with much more precision.
Bonus Tip: Hold down “Shift” while rotating the text box to constrain the rotation to increments of 15°.
Overall, text boxes are treated like shapes and much of the editing that can be done is the same as with shapes. The main benefit of using text boxes instead of shapes lies in the templates that are provided by Word, however it usually is a little faster to create text boxes. So, if all you need is a square stamp, text boxes are the way to go.
Have you used text boxes for any of your translations or other projects? If not, will you start using them now? Let us know in the comments below.